
 @itaysk
 itaysk
 itaysk
Azure Load Balancer in Resource Manager (ARM)
As part of the new Resource Manager (ARM) stack, and V2 resources, there are some changes to the experience of using load balancer in Azure. With the old stack, the load balancer was an integral part of the cloud service. Each VM had to reside in a cloud service, which came with a VIP that was automatically load balanced. With the new stack this isn’t true anymore. Now every resource has to explicitly be created. This includes Load Balancers.
Unfortunately there isn’t a GUI for creating load balancer resources in the portal yet, so it has to be done in a template, or via CLI\PowerShell. There’s a decent tutorial here: https://azure.microsoft.com/en-us/documentation/articles/load-balancer-arm-powershell/. It is a good read but it’s not the simplest example you could have and also misses on adding load balancer to existing configurations, so I decided to create another walkthrough.
Step 1: Setting up the environment
Log into the portal (portal.azure.com) and create a setup of 2 VMs in an availability set. Should have the following structure:
- Resource group
- Storage account
- VNET
- 2 VMs (with all network dependency resources)
- Add the 2 VMs to an availability set.
This is all done via the portal GUI. I am not going to detail the process here because it is straightforward.
The end result should look like this:
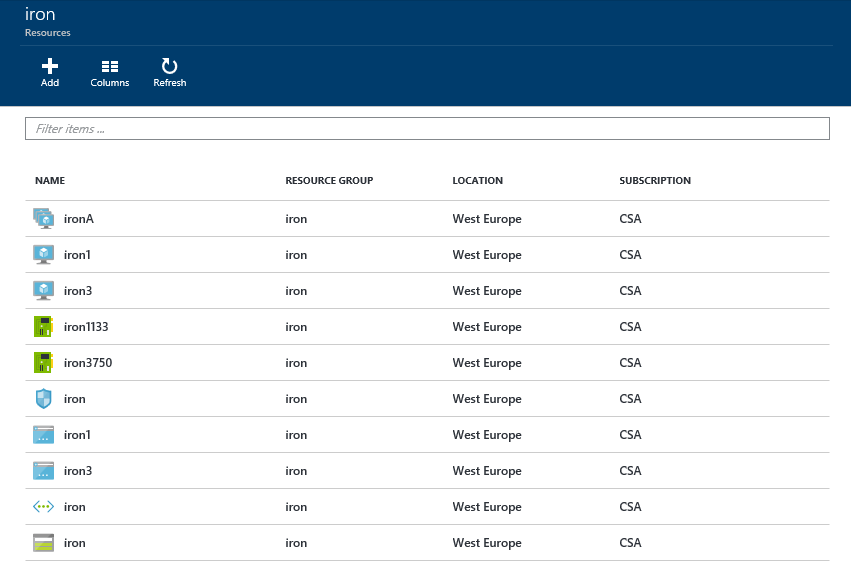
In my case, the names of resources are:
- Resource group - iron
- Storage account - iron
- VNET - iron
- 2 VMs – iron1, iron3
- NICs – iron1133, iron3750
- NSG (one for both VMs) – iron
- PIPs – iron1, iron3
- Availability set - ironA
Step 2: Setting up the load balancer
Here is a PowerShell script that adds a load balancer to the configuration:
Since this is an ad hoc activity, I did not take the time to factor the script into a function and input data into variables. Please change everything in double quotes (“) into your own appropriate values.
The end result should look like this:
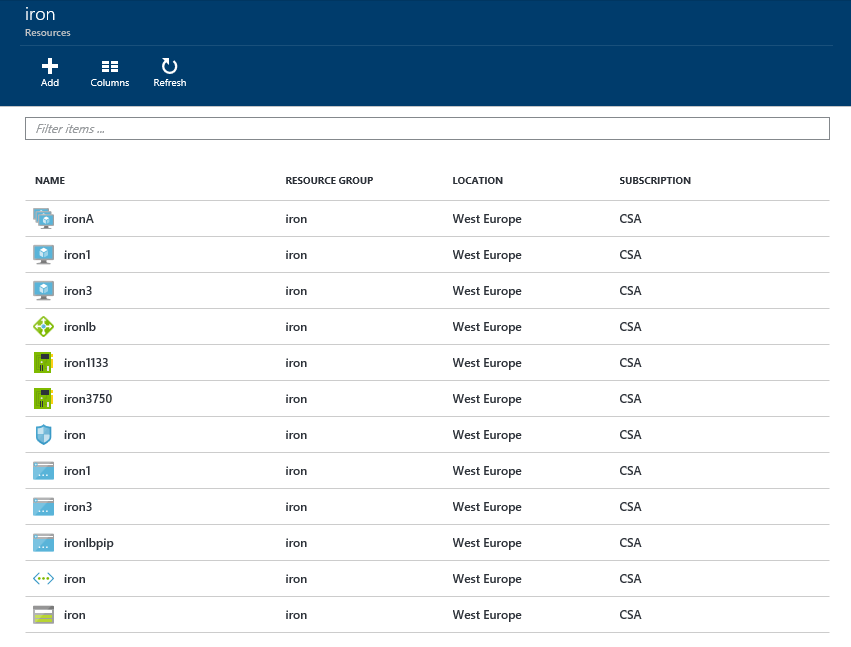
(BTW, after you create the load balancer you can manage it using the portal GUI)
Step 3: Testing
To test that it works, I created a simple web application that shows the internal IP address of the server. So if we access each server directly, we should get different results. If we access the load balancer we should get both results, depending on the server we reached. Here is an example:
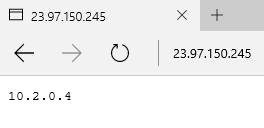
Accessing Iron1 always yields 10.2.0.4:
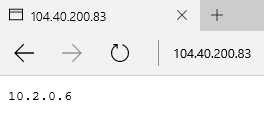
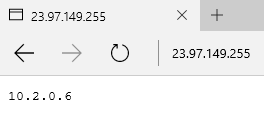
Accessing Iron3 always yields 10.2.0.6:
Accessing the load balancer can yield both results:

The server identification web app
This is a simple node.js app that I have wrote:
To deploy it, do the following on both servers:
- RDP into the server
- Install node.js
- Create a folder, and a file called “app.js” in that folder with the code above.
- Open CMD and cd into the folder you created
- Run “node app.js”
- Turn off Windows Firewall
Also you’ll need to add a NSG rule to allow HTTP traffic to the servers (this is done via Azure portal).
Bonus: client testing tool
You still have to work hard on refreshing the load balancer page to convince yourself it worked, so I have also created a simple tool to demonstrate that over time, the load balancer actually works.
The tool just hits the load balancer (http) and counts the number of times each result was received.
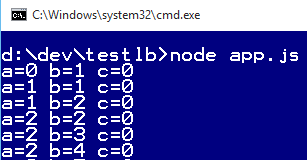
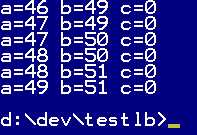
a is the number of times we got 10.2.0.4, and b is the number of times we got 10.2.0.6. As you can see, eventually they even out.
Here is the code to the test tool:
Change the IP addresses to your addresses.
To run the test tool:
- Install node.js
- Create a folder, and a file called
app.jsin that folder with the code above. - Open CMD and cd into the folder you created
- Run
npm install request - Run
node app.js